- This topic has 0 replies, 1 voice, and was last updated 8 years, 10 months ago by
 Powerbits.
Viewing 0 reply threads
- You must be logged in to reply to this topic.

With up to 64 players running around the map at once it can be difficult to work out what’s happening, but one useful tool that can help you is the Kill Log. This is turned off by default, though it can be activated under Options > Gameplay > Kill Log. Appearing in the top right corner of the screen, the Kill Log gives you a live feed of all the kills happening on the battlefield, which can be used to identify if there’s a particular player or vehicle doing a large amount of damage that should be targeted/avoided. If you’ve just been taken out it can also confirm if someone else has dealt with your enemy, so you don’t return to the same spot looking for them.

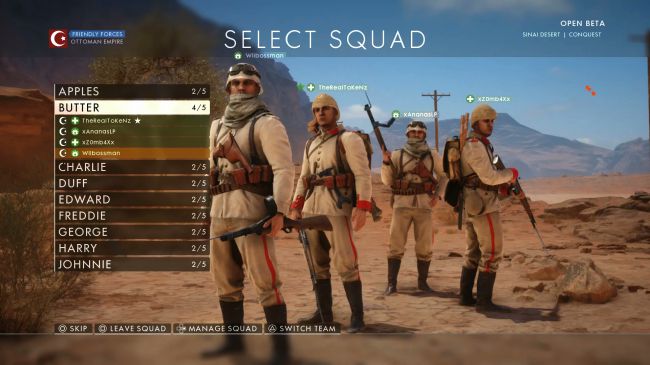
At the start of a round you’ll be presented with a list of 5 person squads you can join, and these are important as they allow you to spawn on your squadmates during the battle by selecting them on the map, getting you straight back into the action. Likewise, if you are fighting for an objective then your squad can spawn on you, providing valuable support. If you are squad leader you can also order your squad to a control point by aiming at the marker and following the prompt, and you’ll receive bonus score for successfully capturing or defending it in a set time.
At the start of a round you’ll be presented with a list of 5 person squads you can join, and these are important as they allow you to spawn on your squadmates during the battle by selecting them on the map, getting you straight back into the action. Likewise, if you are fighting for an objective then your squad can spawn on you, providing valuable support. If you are squad leader you can also order your squad to a control point by aiming at the marker and following the prompt, and you’ll receive bonus score for successfully capturing or defending it in a set time.
In Conquest mode on the Sinai Desert map it’s easy to focus on the central control points, meaning those towards the ends of the area – A, G, and especially E at the bottom – often get overlooked by players skirmishing in the centre. These objectives still contribute the same number of points to your team score, so remember to keep an eye on their status and consider breaking off to try and capture one of them as you’ll usually face less resistance. Conversely, if you hold one of those objectives and can find a good spot to defend it, you can really help your team build up their score.
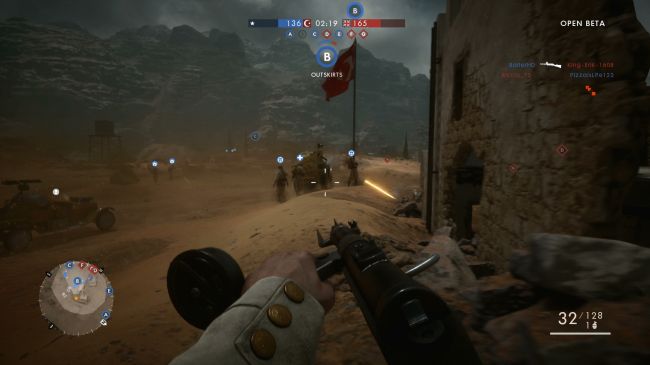
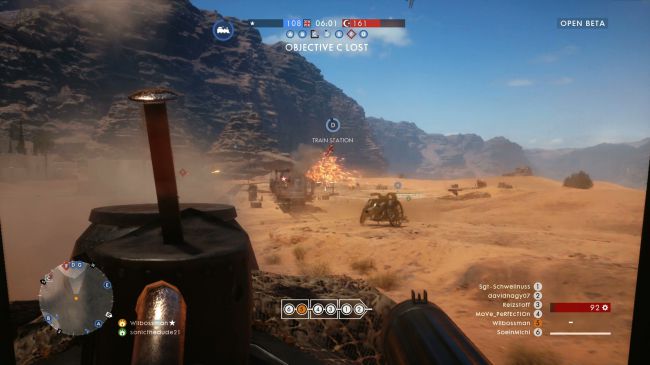
If you’re at or near one of the objectives when it gets captured by your team, stick around the area for a short time before moving on. The enemy will be notified that the control point has been lost and may quickly arrive to try and retake it, so if you lie in wait you can help prevent it falling straight back into their hands. Also, new vehicles may spawn on your recently captured objective, which can help you quickly move on to the next target when the time is right.

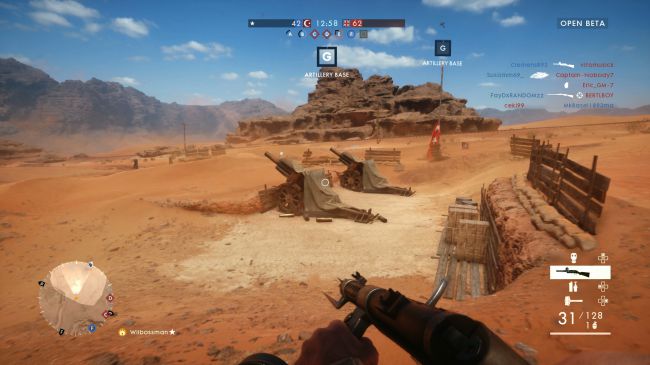
Elite Class spawns are special unique weapons that can be found in wooden crates at specific control points in Conquest mode. These are very powerful weapons, and only one of each can be in play at once followed by a cooldown before they respawn, so if you’re lucky enough to get your hands on one then make sure you use it correctly. They are found in the following locations:
Objective B: Flame Thrower
Does high damage to enemies at close distance, but has no range for longer attacks. You automatically equip the gas mask with this weapon, meaning gas won’t affect you but your vision is reduced a little.
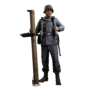
Objective E: Tank Hunter
This high powered sniper rifle does significant damage to armoured vehicles, and will one-shot kill infantry. However, ammo is limited and you need to be in prone position to fire, so find a good position and focus on enemy artillery.
Objective F: Machine Gun
Equipping this weapon gives you a large armour boost, which is handy as you can’t move particularly fast while holding it. The longer you fire in one burst, the more accurate you become, but ease off before it overheats.
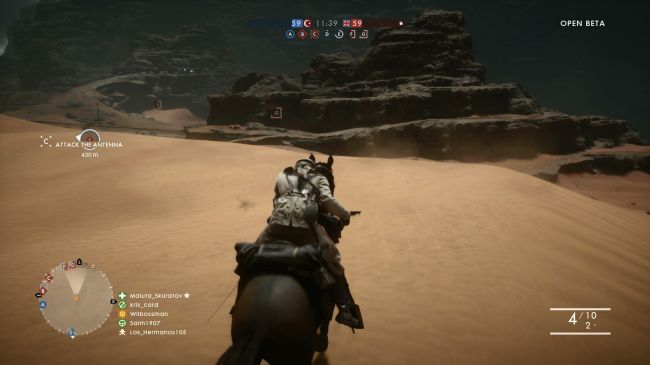
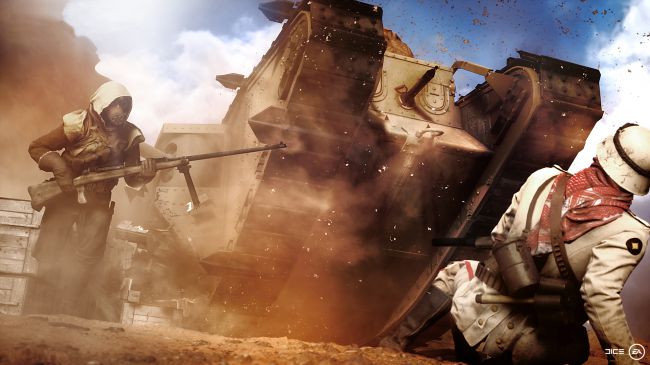
Horses are a great way to move around the map quickly, but they can be tricky to use in combat. When riding you have access to a sabre to swing at enemies on foot, though sometimes it’s easier just to trample over enemies in front of you than trying to line up a sword hit. You also have a rifle to fire, but remember that you’ll need to slow down to reload it as you can’t while sprinting. When fighting an enemy who is on horseback, aim for them rather than the horse as it can take a lot of damage before going down, and try to stay out of open areas to avoid being trodden underfoot.
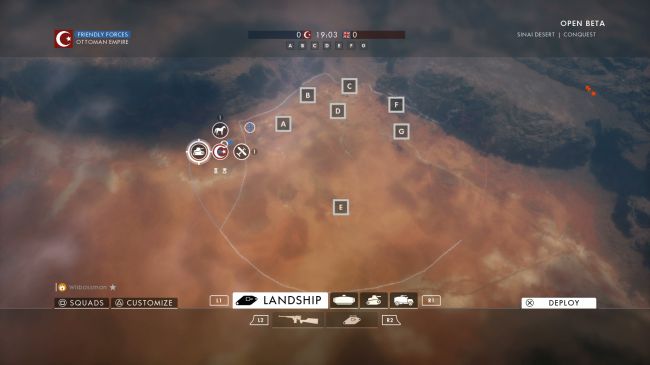
f you spot an available vehicle on the battlefield you can simply run up and interact to take control, but it’s highly unlikely you’ll find a tank just sitting around and planes only appear in the air. Whenever you’re due to respawn, take a look around your bases on the map and see if there’s a number under any of the tank or plane icons – if there is, highlight it and cycle through the options at the bottom of the screen then spawn to be dropped straight into your vehicle of choice. If none are available then scroll around the map, as you may still be able to spawn into a vehicle with a squadmate.

Tanks are a very useful asset to your team, but can be a real struggle to drive in first person view. There’s nothing worse than climbing on board then going nowhere as your driver repeatedly crashes into obstacles, so if you find yourself at the controls then switch to third person view for a much clearer picture of what’s ahead. Watch out for teammates and slow down if you see them nearby, to let them get in and fire the guns for you. Remember that you can press the button prompt shown on the diagram of the vehicle to switch seats and operate different weapons, even if you’re the only one inside – handy for firing the powerful tank shells if you don’t have a dedicated gunner.
Keep an eye on your tank’s health level, and use the repair prompt to fix it when it starts getting low or there’s a lull in the fighting. If you’re under fire then try to take out the threat or relocate to safety first as you can’t move while repairing, and if you’re still being attacked when the tank is badly damaged then don’t be afraid to bail and get clear to save yourself.
If your team is falling behind in Conquest mode then you may get an armoured train deployed, to help redress the balance. The easiest way to get onboard is to respawn directly into the train, but if you haven’t been killed you can instead choose the Redeployment option from the pause menu to jump in. Objectives can be captured from the train, so the driver should focus on holding point D while laying suppressing fire on B and C, with trips out to A and G when necessary to claim them. The biggest guns are at the front and back of the train, but all of them can do significant damage.
If you’re fighting against a train then vehicles are the way to take it on, either with shells from tanks and artillery placements or bombs dropped from planes. It’s best to stay away while on foot, though if you can lay mines and explosives on the track ahead then this is a great way to deal damage against the behemoth.
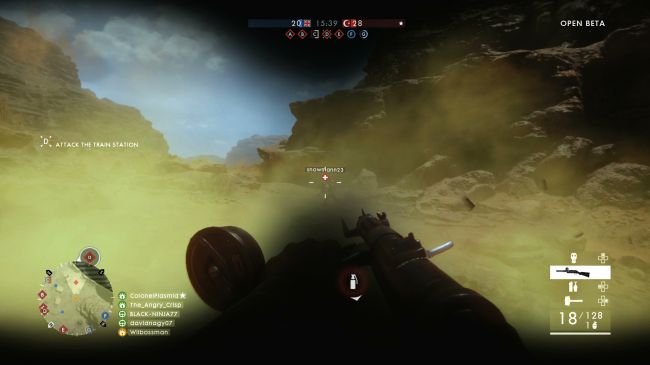
Gas grenades are a great way of clearing an area of campers, and are particularly effective against snipers. Enemies can put on gas masks to counteract the damage, but while wearing them they cannot aim down sights, which renders any long range attacks ineffective and should force them to abandon their position. If you’re being sniped you can also use a gas grenade to form a makeshift smokescreen between you and the enemy, to prevent them from getting a clear shot.
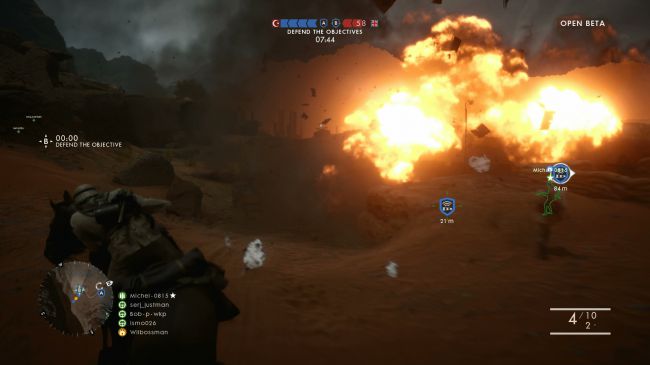
When defending in Rush, you can use the Artillery option at your telegraph poles to call in a massive strike against the other team. You can’t aim this, but the game will automatically direct it towards the enemy forces. You can also place mines and/or remote detonation bombs in the area around your currently defended location, to trigger once the enemy encroaches on your territory.
If you’re on the attacking team, make sure to stay in the area and defend your explosives once placed, as they can still be disarmed by the enemy if they get there in time.